Markdown and VS Code
Working with Markdown in Visual Studio Code can be pretty fun and there are a number of Markdown specific features that will help you be more productive.
Markdown Preview
Open any Markdown file and press kb(workbench.action.markdown.togglePreview) in the editor to toggle between the code and a preview of the Markdown file. You can view the preview side-by-side with the file you are editing and see changes reflected in real-time as you edit.
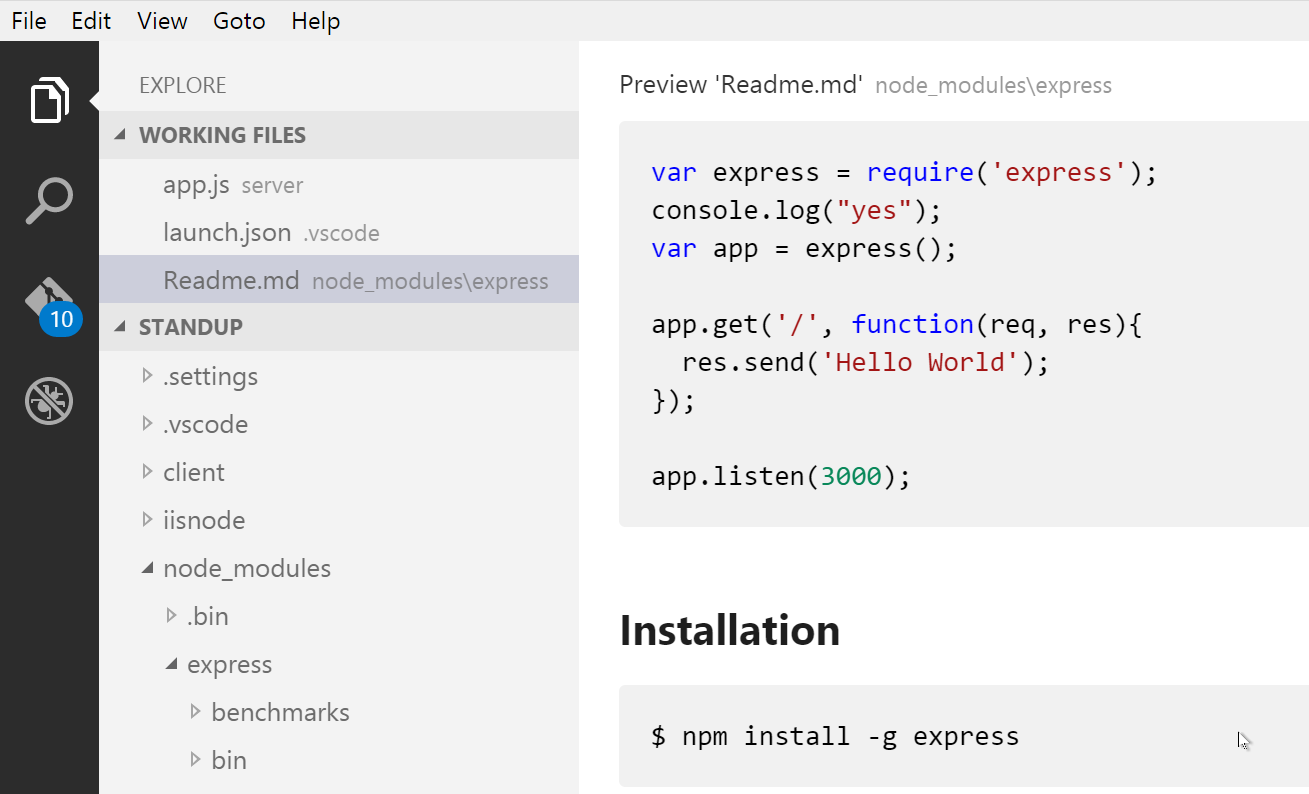
Here is an example with a very simple file.
Tip: You can also click on the icon on the top right of the preview window to switch back and forth between code and preview mode.
Using your own CSS
By default, we use a CSS style for the preview that matches the style of VS Code. If you want to use your own CSS for the Markdown preview, update the "markdown.styles": [] setting with the comma-separated list of URL(s) for your style sheet(s).
For instance in the screen shot above we used a custom CSS to change the default font for the page and changed the color for the H1 title. Here is the relevant CSS:
body {
    font-family: 'Segoe UI', Tahoma, Geneva, Verdana, sans-serif;
}

h1 {
    color: cornflowerblue;
}
This is the Workspace Settings update.
// Place your settings in this file to overwrite default and user settings.
{
    "markdown.styles": [
        "Style.css"
    ]
}
Snippets for Markdown
There are several built-in Markdown snippets included in VS Code - simply press kb(editor.action.triggerSuggest) (Trigger Suggest) and we will give you a context specific list of suggestions.
Tip: You can add in your own User Defined Snippets for Markdown. Take a look at User Defined Snippets to find out how.
Compiling Markdown into HTML
VS Code can integrate with Markdown compilers through our integrated task runner. We can use this to compile .md files into .html files. Let's walk through compiling a simple Markdown document.
Step 1: Install a Markdown compiler
For this walkthrough, let's use the popular Node.js module, marked.
npm install -g marked
Note: There are many Markdown compilers to choose from beyond
marked, such as markdown-it. Pick the one that best suits your needs and environment.
Step 2: Create a simple MD file
Open VS Code on an empty folder and create a sample.md file.
Note: You can open a folder with VS Code by either selecting the folder with
File | Open Folder...or navigating to the folder and typingcode .at the command line.
Place the following code in that file:
Hello Markdown in VS Code!
====================

This is a simple introduction to compiling Markdown in VS Code.

Things you'll need:
* [node](https://nodejs.org)
* [marked](https://www.npmjs.com/package/marked)
* [tasks.json](/docs/editor/tasks.md)

## Section Title

> This block quote is here for your information.
Step 3: Create tasks.json
The next step is to set up the task configuration. To do this open the Command Palette with kb(workbench.action.showCommands) and type in Configure Task Runner, press kbstyle(Enter) to select it.
This will create a sample tasks.json file in the .vscode folder. The initial file has a large number of examples within it.
Tip: While the sample is there to help with common configuration settings, IntelliSense is available for the
tasks.jsonfile as well to help you along. Usekb(editor.action.triggerSuggest)to see the available settings.
The first example shows how to use configure tasks for TypeScript compilation. We will simply modify that configuration for compiling Markdown instead:
{
    "version": "0.1.0",
    "command": "marked",
    "isShellCommand": true,
    "args": ["sample.md", "-o", "sample.html"]
}
Under the covers we interpret marked as an external task runner exposing exactly one task: the compiling of Markdown files into HTML files. The command we run is marked sample.md -o sample.html.
Step 4: Run the Build Task
As this is the only task in the file you can execute it by simply pressing kb(workbench.action.tasks.build) (Run Build Task). At this point you will see an additional file show up in the file list sample.html.
The sample Markdown file did not have any compile problems, so by running the task all that happened was a corresponding sample.html file was created.
Automating Markdown compilation
Let's take things a little further and automate Markdown compilation with VS Code. We can do so with the same task runner integration as before, but with a few modifications.
Step 1: Install Gulp and some plug-ins
We will use Gulp to create a task that will automate Markdown compilation. We will also use the gulp-markdown plug-in to make things a little easier.
npm install -g gulp gulp-markdown
Note: gulp-markdown is a Gulp plug-in for the
markedmodule we were using before. There are many other Gulp Markdown plug-ins you can use, as well as plug-ins for Grunt.
Step 2: Create a simple Gulp task
Open VS Code on the same folder from before (contains sample.md and tasks.json under the .vscode folder), and create gulpfile.js at the root. Place the following code in that file:
var gulp = require('gulp');
var markdown = require('gulp-markdown');

gulp.task('markdown', function() {
    return gulp.src('**/*.md')
        .pipe(markdown())
        .pipe(gulp.dest(function(f) {
            return f.base;
        }));
});

gulp.task('default', function() {
    gulp.watch('**/*.md', ['markdown']);
});
What is happening here?
1. We are watching for changes to any Markdown file in our workspace, i.e. the current folder open in VS Code.
2. We take the set of Markdown files that have changed, and run them through our Markdown compiler, i.e. gulp-markdown.
3. We now have a set of HTML files, each named respectively after their original Markdown file. We then put these files in the same directory.
Step 3: Modify the configuration in tasks.json for watching
To complete the tasks integration with VS Code, we will need to modify the task configuration from before, to set a watch on the default Gulp task we just created. Your tasks configuration should now look like this:
{
    "version": "0.1.0",
    "command": "gulp",
    "isShellCommand": true,
    "tasks": [
        {
            "taskName": "default",
            "isBuildCommand": true,
            "showOutput": "always",
            "isWatching": true
        }
    ]
}
Step 4: Run the Build Task
Again, as this is the only task in the file you can execute it by simply pressing kb(workbench.action.tasks.build) (Run Build Task). But this time, we've set a watch so the status bar should indicate that on the left-hand side.

At this point, if you create and/or modify other Markdown files, you will see the respective HTML files generated and/or changes reflected on save. You can also enable Auto Save to make things even more streamlined.
If you want to stop the watch, you can press kb(workbench.action.tasks.build) again and click Terminate Running Task in the message box. Or you can use the Command Palette with kb(workbench.action.showCommands) and find the terminate command there.
Next Steps
Read on to find out about:
- Customization - Dig into additional settings such as word wrap and User Defined Snippets.
- CSS, Less and Sass - Want to edit your CSS? VS Code has great support for CSS, Less and Sass editing.
Common Questions
Q: Do you support spell checking?
A: No but it's something that our extensibility story will enable soon.
Q: In the walkthrough above, I didn't find the Configure Task Runner command in the Command Palette?
A: You may have opened a file in VS Code rather than a folder. You can open a folder by either selecting the folder with File | Open Folder... or navigating to the folder and typing code . at the command line.